Deploy BERT Models with PyTorch Inference DLC on Vertex AI
DistilBERT is a small, fast, cheap and light Transformer model trained by distilling BERT, which is a bidirectional transformer pretrained using a combination of masked language modeling objective and next sentence prediction on a large corpus. And, Google Vertex AI is a Machine Learning (ML) platform that lets you train and deploy ML models and AI applications, and customize large language models (LLMs) for use in your AI-powered applications.
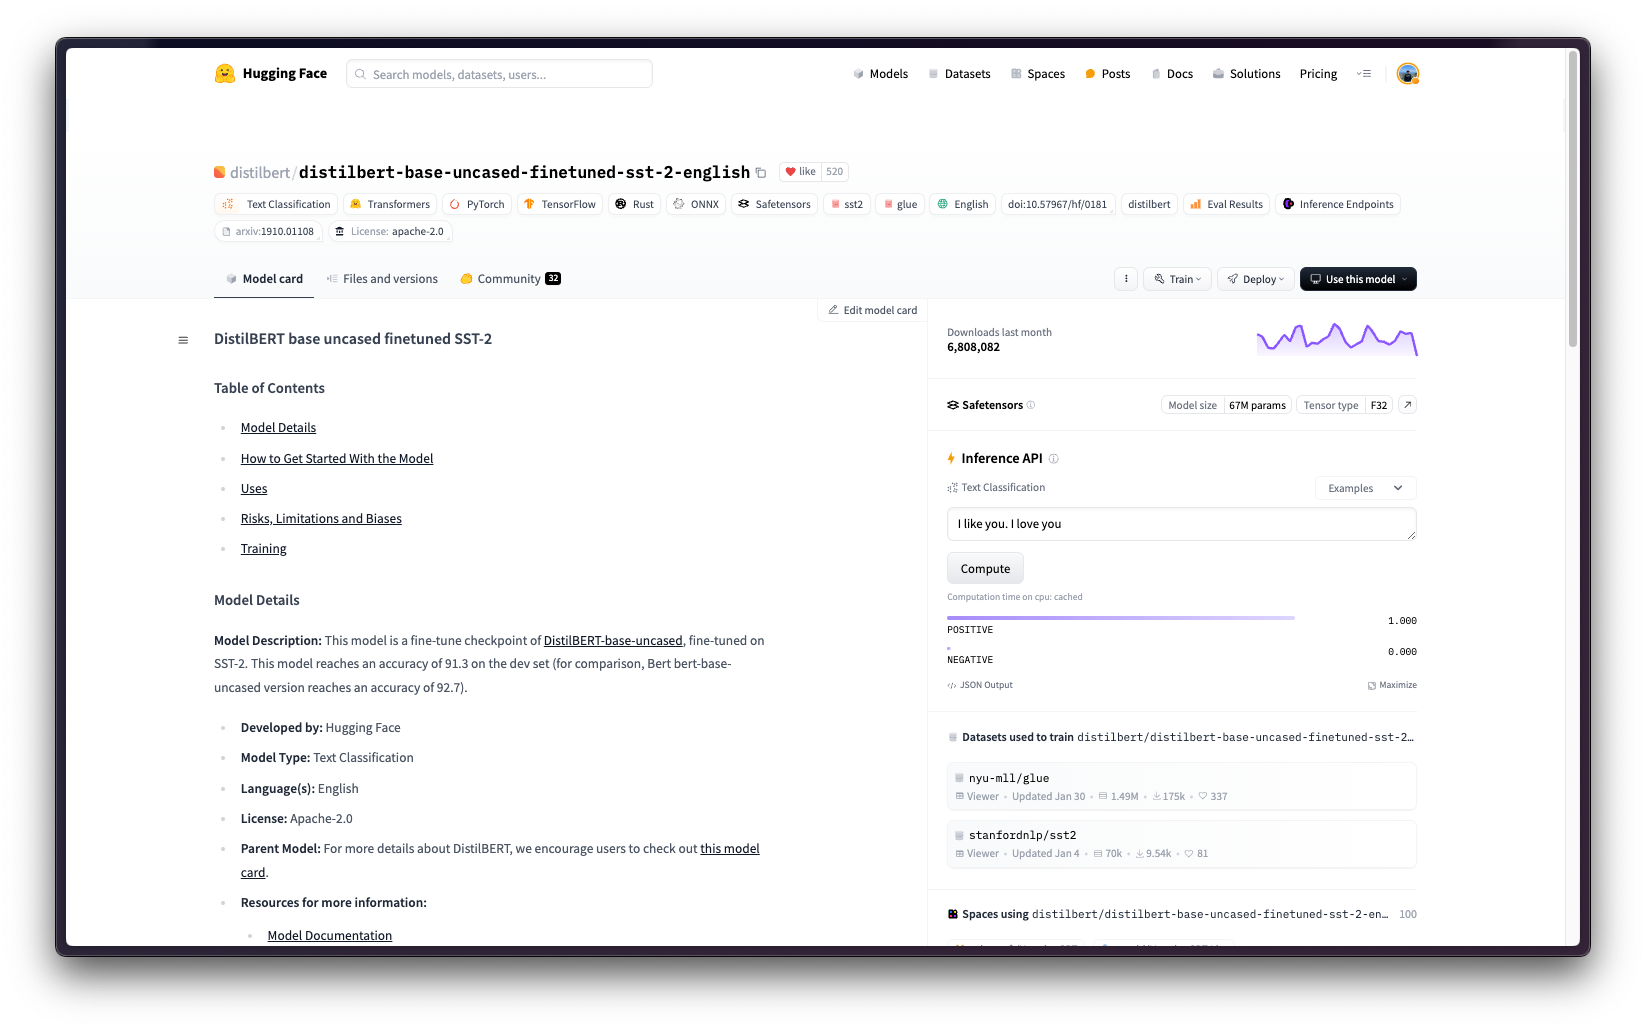
This example showcases how to deploy any supported PyTorch model from the Hugging Face Hub, in this case distilbert/distilbert-base-uncased-finetuned-sst-2-english, on Vertex AI using the PyTorch Inference DLC available in Google Cloud Platform (GCP) in both CPU and GPU instances.
Setup / Configuration
First, you need to install gcloud in your local machine, which is the command-line tool for Google Cloud, following the instructions at Cloud SDK Documentation - Install the gcloud CLI.
Then, you also need to install the google-cloud-aiplatform Python SDK, required to programmatically create the Vertex AI model, register it, acreate the endpoint, and deploy it on Vertex AI.
!pip install --upgrade --quiet google-cloud-aiplatform
Optionally, to ease the usage of the commands within this tutorial, you need to set the following environment variables for GCP:
%env PROJECT_ID=your-project-id
%env LOCATION=your-location
%env CONTAINER_URI=us-docker.pkg.dev/deeplearning-platform-release/gcr.io/huggingface-pytorch-inference-cu121.2-2.transformers.4-44.ubuntu2204.py311
Then you need to login into your GCP account and set the project ID to the one you want to use to register and deploy the models on Vertex AI.
!gcloud auth login
!gcloud auth application-default login  # For local development
!gcloud config set project $PROJECT_ID
Once you are logged in, you need to enable the necessary service APIs in GCP, such as the Vertex AI API, the Compute Engine API, and Google Container Registry related APIs.
!gcloud services enable aiplatform.googleapis.com
!gcloud services enable compute.googleapis.com
!gcloud services enable container.googleapis.com
!gcloud services enable containerregistry.googleapis.com
!gcloud services enable containerfilesystem.googleapis.com
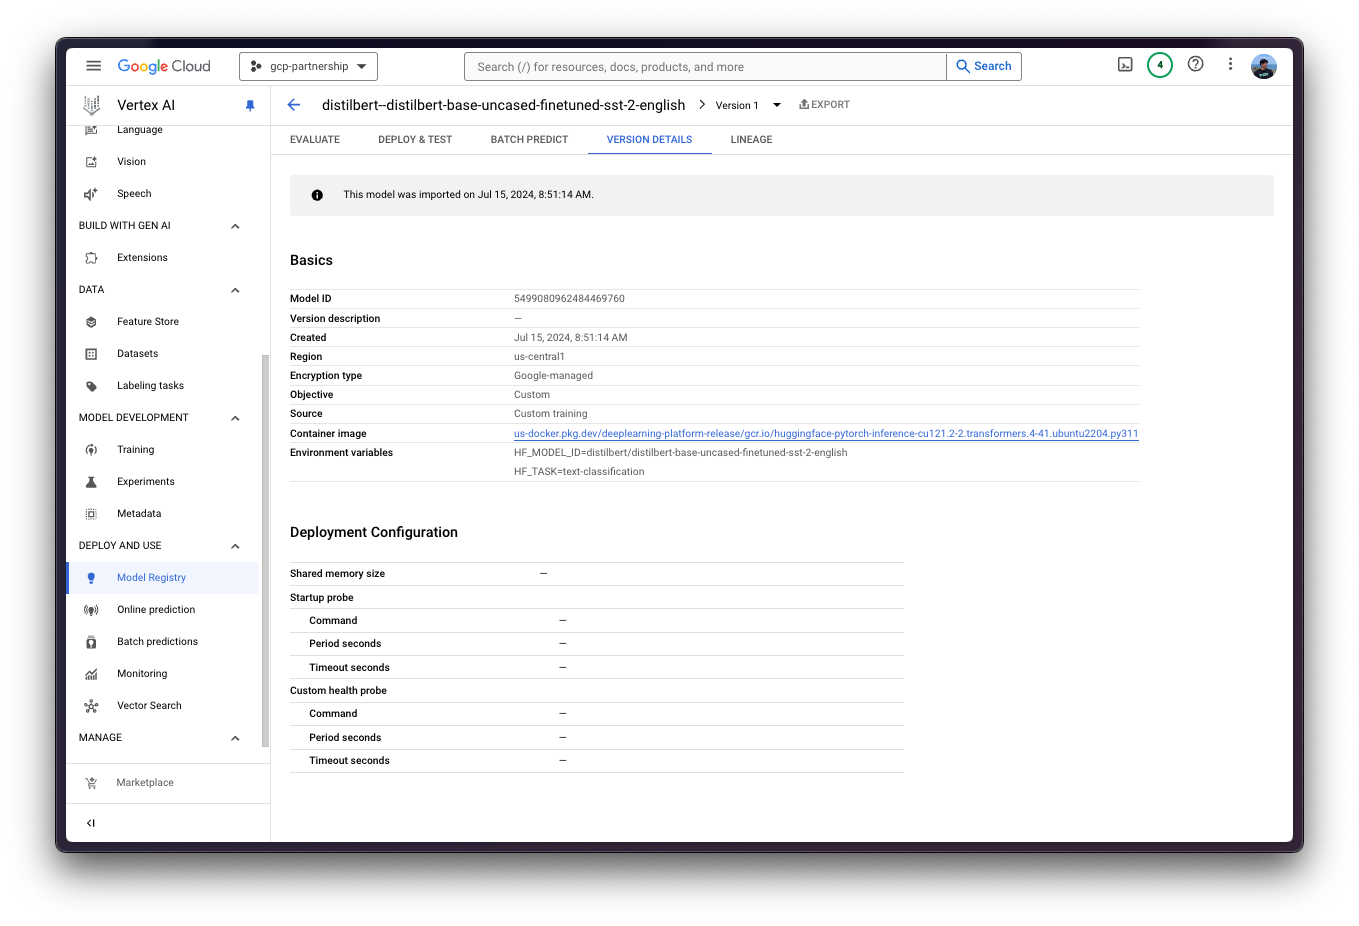
Register model in Vertex AI
Once everything is set up, you can already initialize the Vertex AI session via the google-cloud-aiplatform Python SDK as follows:
import os
from google.cloud import aiplatform

aiplatform.init(
    project=os.getenv("PROJECT_ID"),
    location=os.getenv("LOCATION"),
)
Then you can already “upload” the model i.e. register the model on Vertex AI. It is not an upload per se, since the model will be automatically downloaded from the Hugging Face Hub in the Hugging Face PyTorch DLC for inference on startup via the HF_MODEL_ID environment variable, so what is uploaded is only the configuration, not the model weights.
Before going into the code, let’s quickly review the arguments provided to the upload method:
display_nameis the name that will be shown in the Vertex AI Model Registry.serving_container_image_uriis the location of the Hugging Face PyTorch DLC for inference that will be used for serving the model.serving_container_environment_variablesare the environment variables that will be used during the container runtime, so these are aligned with the environment variables defined by huggingface-inference-toolkit Python SDK, which exposes some environment variables such as the following:HF_MODEL_IDis the identifier of the model in the Hugging Face Hub. To explore all the supported models please check https://huggingface.co/models?sort=trending filtering by the task that you want to use e.g.text-classification.HF_TASKis the task identifier within the Hugging Face Hub. To see all the supported tasks please check https://huggingface.co/docs/transformers/en/task_summary#natural-language-processing.
For more information on the supported aiplatform.Model.upload arguments, check its Python reference at https://cloud.google.com/python/docs/reference/aiplatform/latest/google.cloud.aiplatform.Model#google_cloud_aiplatform_Model_upload.
model = aiplatform.Model.upload(
    display_name="distilbert--distilbert-base-uncased-finetuned-sst-2-english",
    serving_container_image_uri=os.getenv("CONTAINER_URI"),
    serving_container_environment_variables={
        "HF_MODEL_ID": "distilbert/distilbert-base-uncased-finetuned-sst-2-english",
        "HF_TASK": "text-classification",
    },
)
model.wait()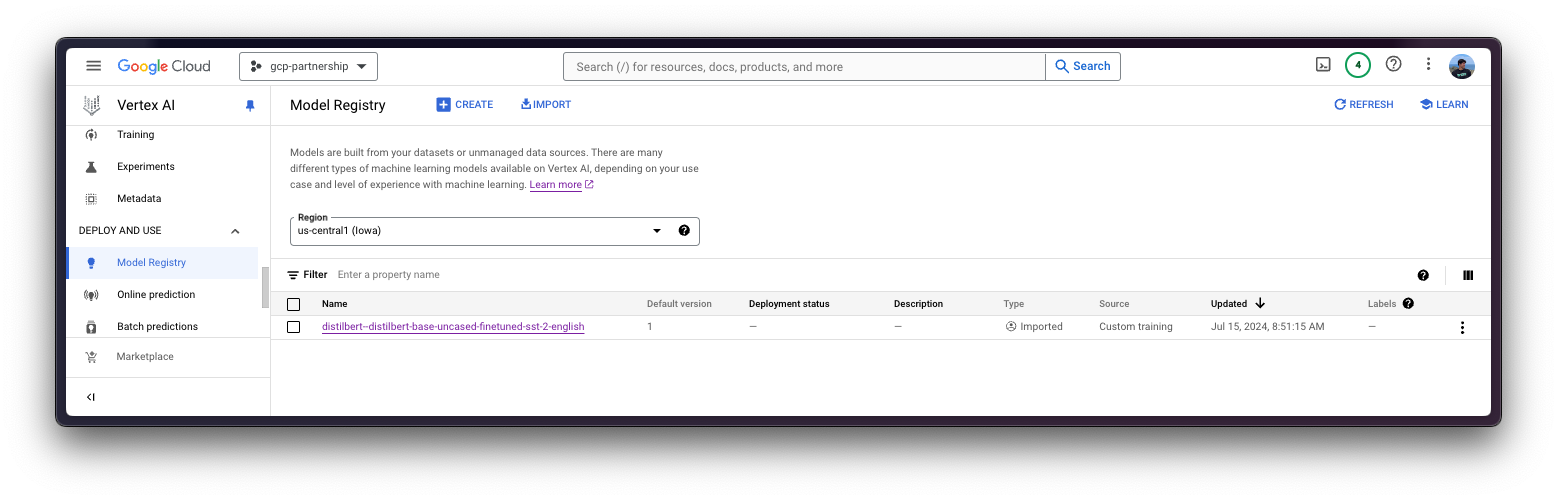
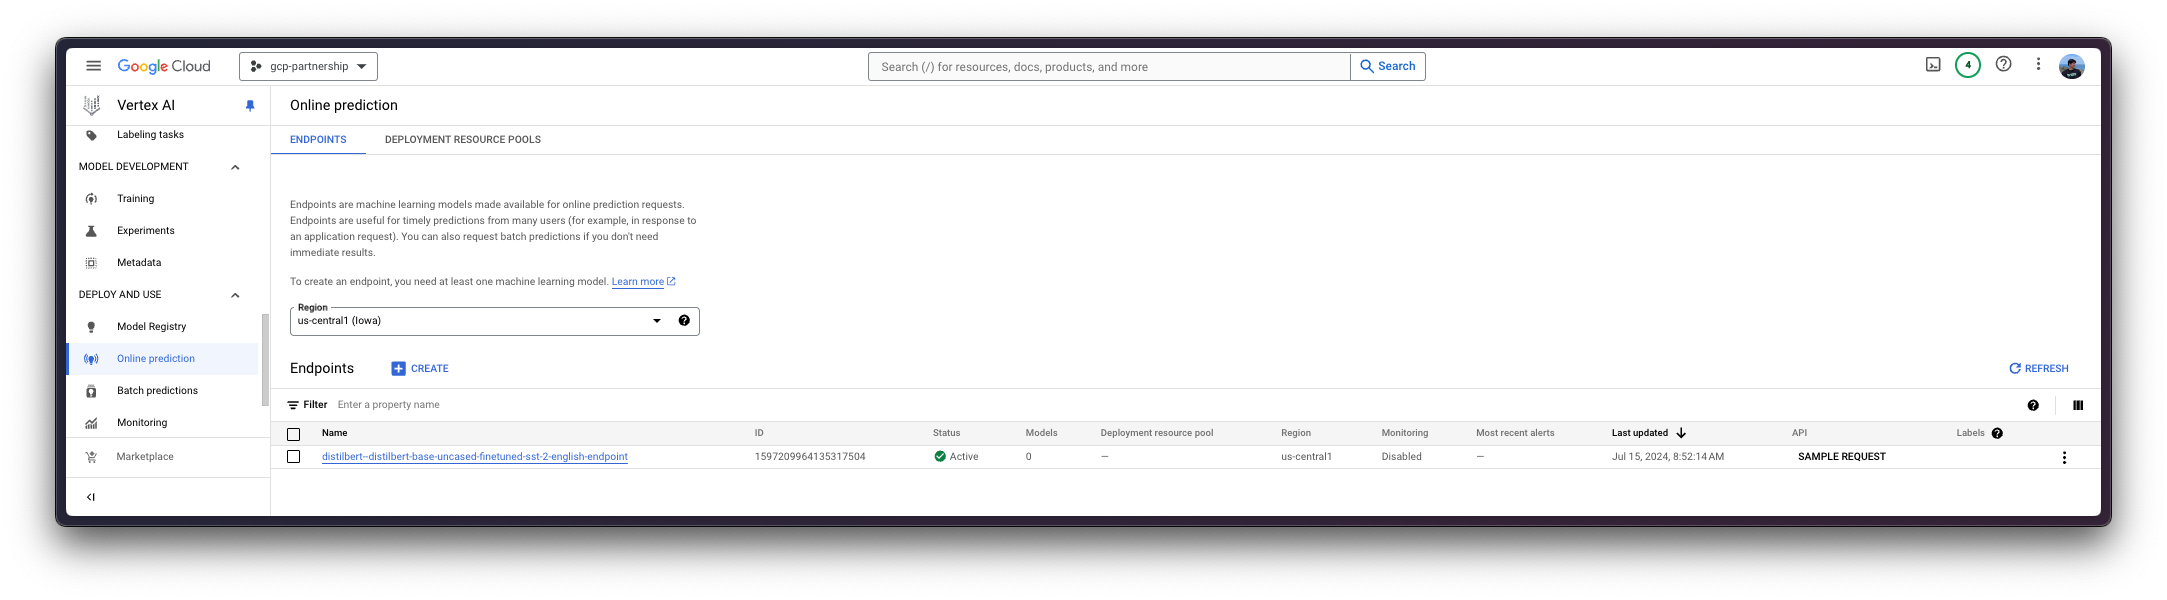
Deploy model in Vertex AI
After the model is registered on Vertex AI, you need to define the endpoint that you want to deploy the model to, and then link the model deployment to that endpoint resource.
To do so, you need to call the method aiplatform.Endpoint.create to create a new Vertex AI endpoint resource (which is not linked to a model or anything usable yet).
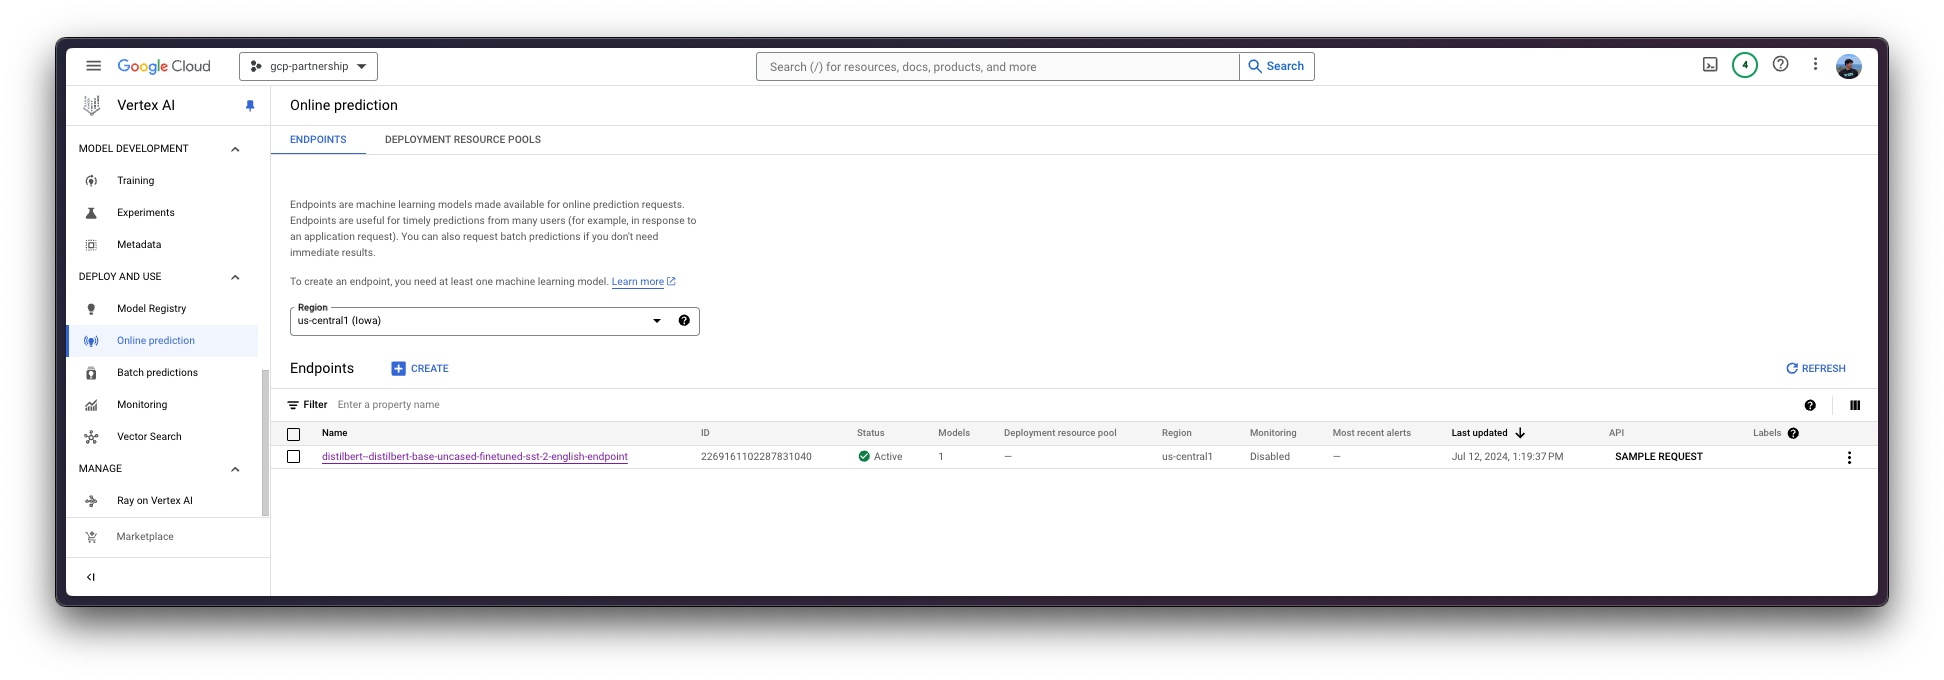
endpoint = aiplatform.Endpoint.create(
    display_name="distilbert--distilbert-base-uncased-finetuned-sst-2-english-endpoint"
)
Now you can deploy the registered model in an endpoint on Vertex AI.
The deploy method will link the previously created endpoint resource with the model that contains the configuration of the serving container, and then, it will deploy the model on Vertex AI in the specified instance.
Before going into the code, let’s quicklyl review the arguments provided to the deploy method:
endpointis the endpoint to deploy the model to, which is optional, and by default will be set to the model display name with the_endpointsuffix.machine_type,accelerator_typeandaccelerator_countare arguments that define which instance to use, and additionally, the accelerator to use and the number of accelerators, respectively. Themachine_typeand theaccelerator_typeare tied together, so you will need to select an instance that supports the accelerator that you are using and vice-versa. More information about the different instances at Compute Engine Documentation - GPU machine types, and about theaccelerator_typenaming at Vertex AI Documentation - MachineSpec.
For more information on the supported aiplatform.Model.deploy arguments, you can check its Python reference at https://cloud.google.com/python/docs/reference/aiplatform/latest/google.cloud.aiplatform.Model#google_cloud_aiplatform_Model_deploy.
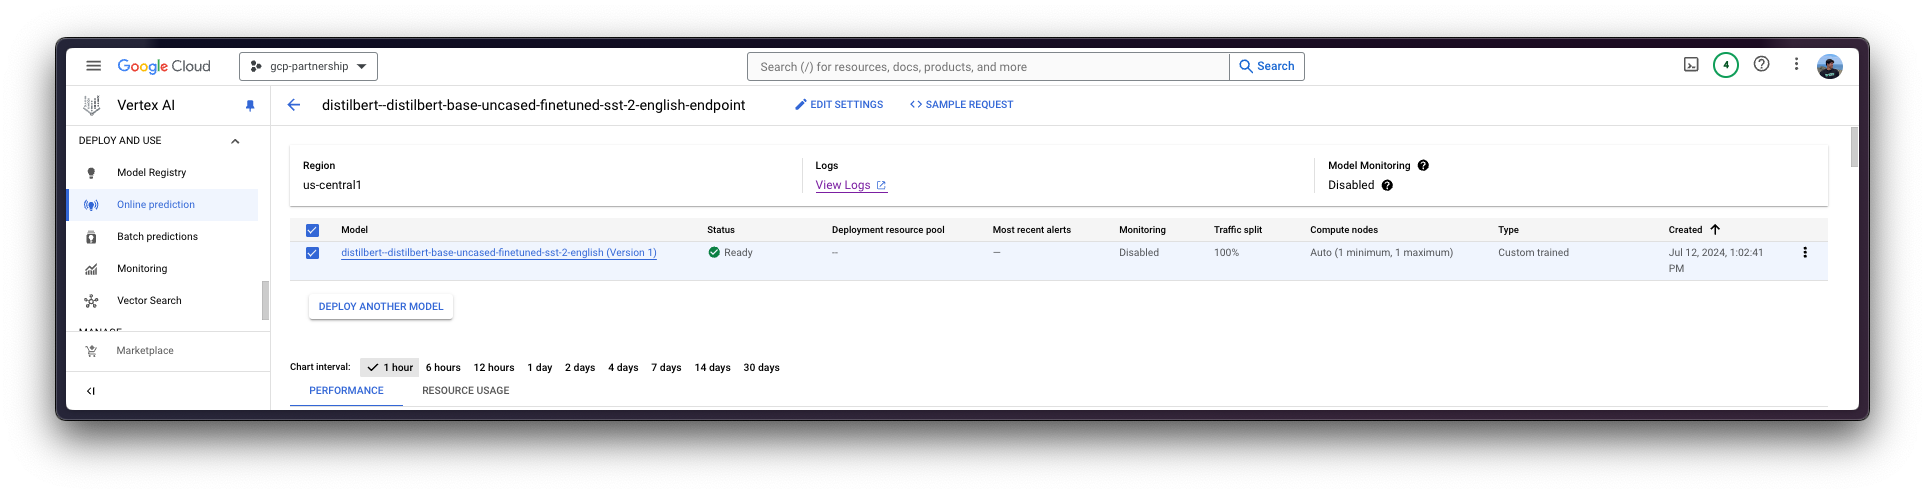
deployed_model = model.deploy(
    endpoint=endpoint,
    machine_type="g2-standard-12",
    accelerator_type="NVIDIA_L4",
    accelerator_count=1,
)WARNING: The Vertex AI endpoint deployment via the deploy method may take from 15 to 25 minutes.
Online predictions on Vertex AI
Finally, you can run the online predictions on Vertex AI using the predict method, which will send the requests to the running endpoint in the /predict route specified within the container following Vertex AI I/O payload formatting.
output = deployed_model.predict(instances=["I love this product", "I hate this product"], parameters={"top_k": 2})
print(output.predictions[0])
Which produces the following output for each of the instances provided i.e. being POSITIVE the label for the first sentence and NEGATIVE for the second, as those are the greater scores within each output instance, respectively:
[[{'score': 0.9998788833618164, 'label': 'POSITIVE'},
  {'score': 0.0001210561968036927, 'label': 'NEGATIVE'}],
 [{'score': 0.9997544884681702, 'label': 'NEGATIVE'},
  {'score': 0.0002454846107866615, 'label': 'POSITIVE'}]
Resource clean-up
Finally, you can release the resources programmatically within the same Python session as follows:
deployed_model.undeploy_allto undeploy the model from all the endpoints.deployed_model.deleteto delete the endpoint/s where the model was deployed gracefully after theundeploy_all.model.deleteto delete the model from the registry.
deployed_model.undeploy_all()
deployed_model.delete()
model.delete()