<div align="center">
<img src="https://github.com/Akegarasu/lora-scripts/assets/36563862/3b177f4a-d92a-4da4-85c8-a0d163061a40" width="200" height="200" alt="SD-Trainer" style="border-radius: 25px">
# SD-Trainer
_✨ 享受 Stable Diffusion 训练! ✨_
</div>
<p align="center">
<a href="https://github.com/Akegarasu/lora-scripts" style="margin: 2px;">
<img alt="GitHub 仓库星标" src="https://img.shields.io/github/stars/Akegarasu/lora-scripts">
</a>
<a href="https://github.com/Akegarasu/lora-scripts" style="margin: 2px;">
<img alt="GitHub 仓库分支" src="https://img.shields.io/github/forks/Akegarasu/lora-scripts">
</a>
<a href="https://raw.githubusercontent.com/Akegarasu/lora-scripts/master/LICENSE" style="margin: 2px;">
<img src="https://img.shields.io/github/license/Akegarasu/lora-scripts" alt="许可证">
</a>
<a href="https://github.com/Akegarasu/lora-scripts/releases" style="margin: 2px;">
<img src="https://img.shields.io/github/v/release/Akegarasu/lora-scripts?color=blueviolet&include_prereleases" alt="发布版本">
</a>
</p>
<p align="center">
<a href="https://github.com/Akegarasu/lora-scripts/releases">下载</a>
·
<a href="https://github.com/Akegarasu/lora-scripts/blob/main/README.md">文档</a>
·
<a href="https://github.com/Akegarasu/lora-scripts/blob/main/README-zh.md">中文README</a>
</p>
LoRA-scripts(又名 SD-Trainer)
LoRA & Dreambooth 训练图形界面 & 脚本预设 & 一键训练环境,用于 [kohya-ss/sd-scripts](https://github.com/kohya-ss/sd-scripts.git)
## ✨新特性: 训练 WebUI
Stable Diffusion 训练工作台。一切集成于一个 WebUI 中。
按照下面的安装指南安装 GUI,然后运行 `run_gui.ps1`(Windows) 或 `run_gui.sh`(Linux) 来启动 GUI。
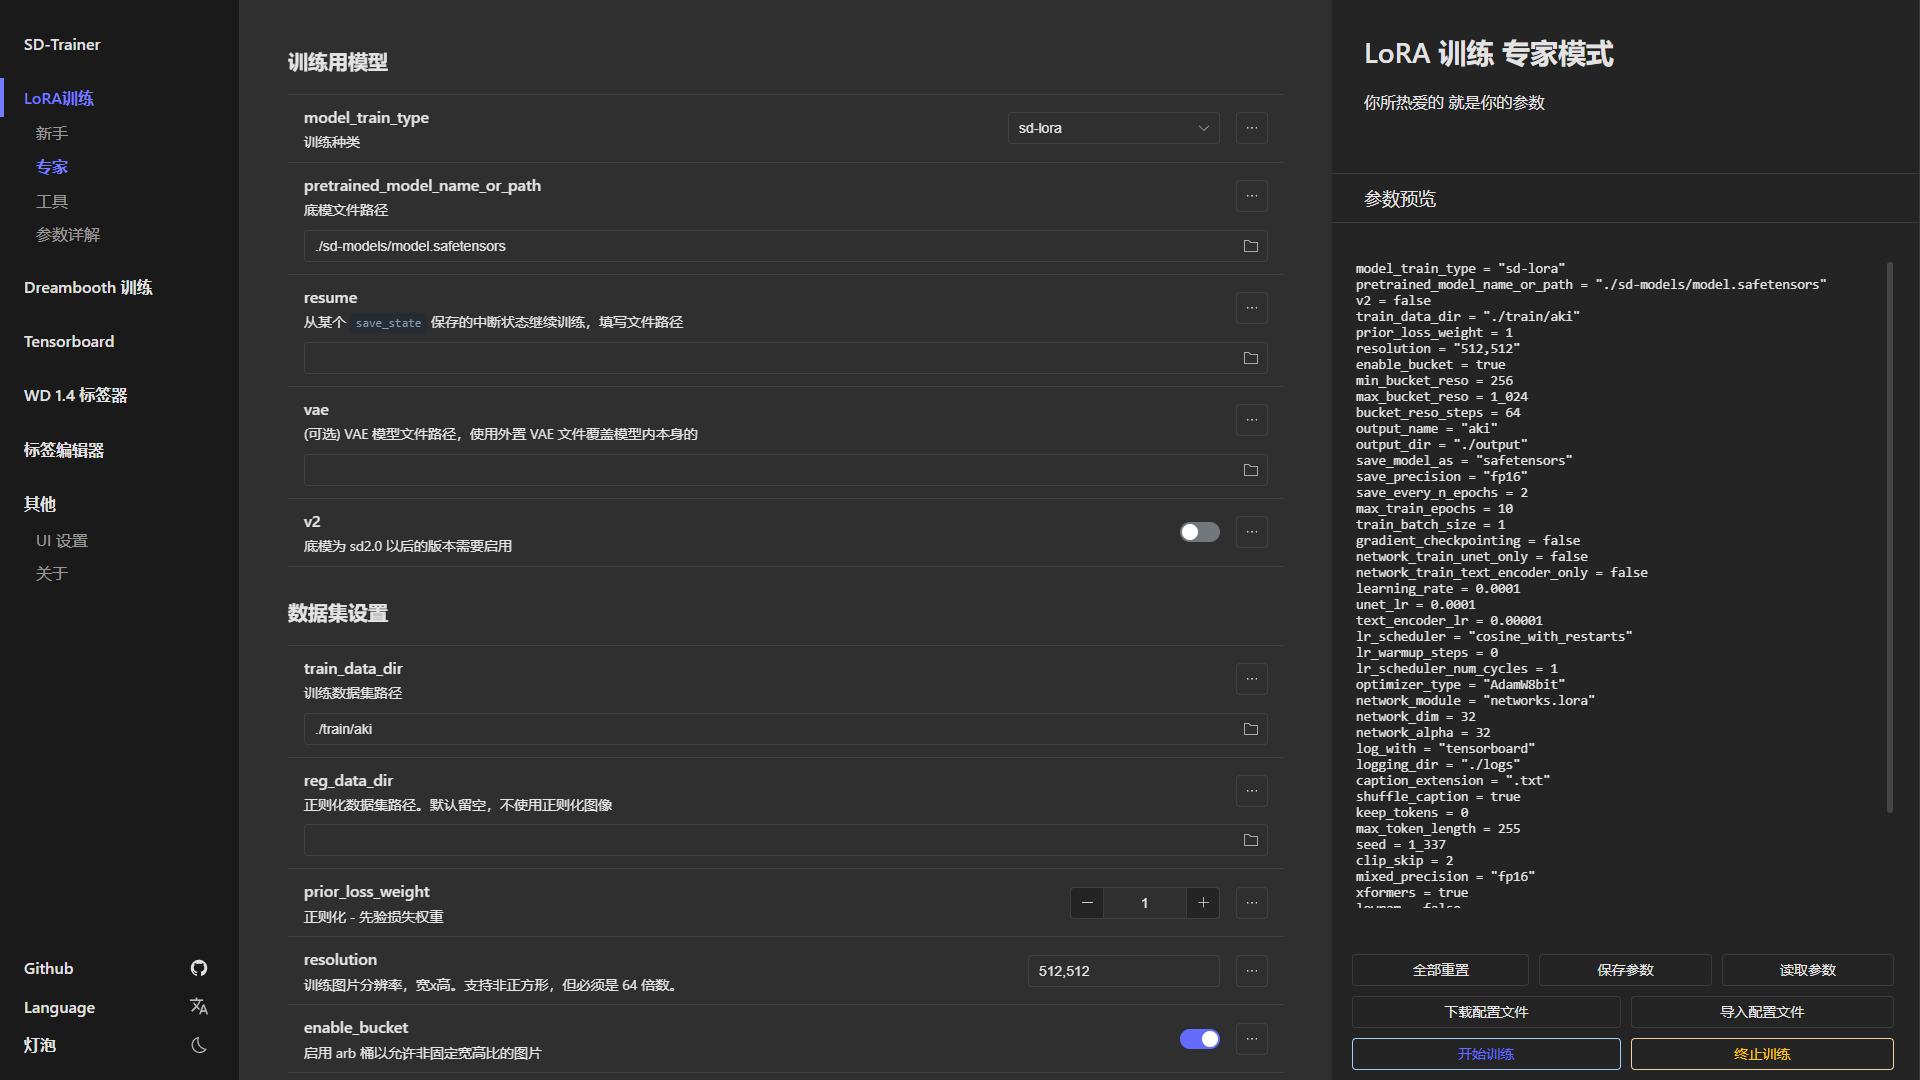
| Tensorboard | WD 1.4 标签器 | 标签编辑器 |
| ------------ | ------------ | ------------ |
| 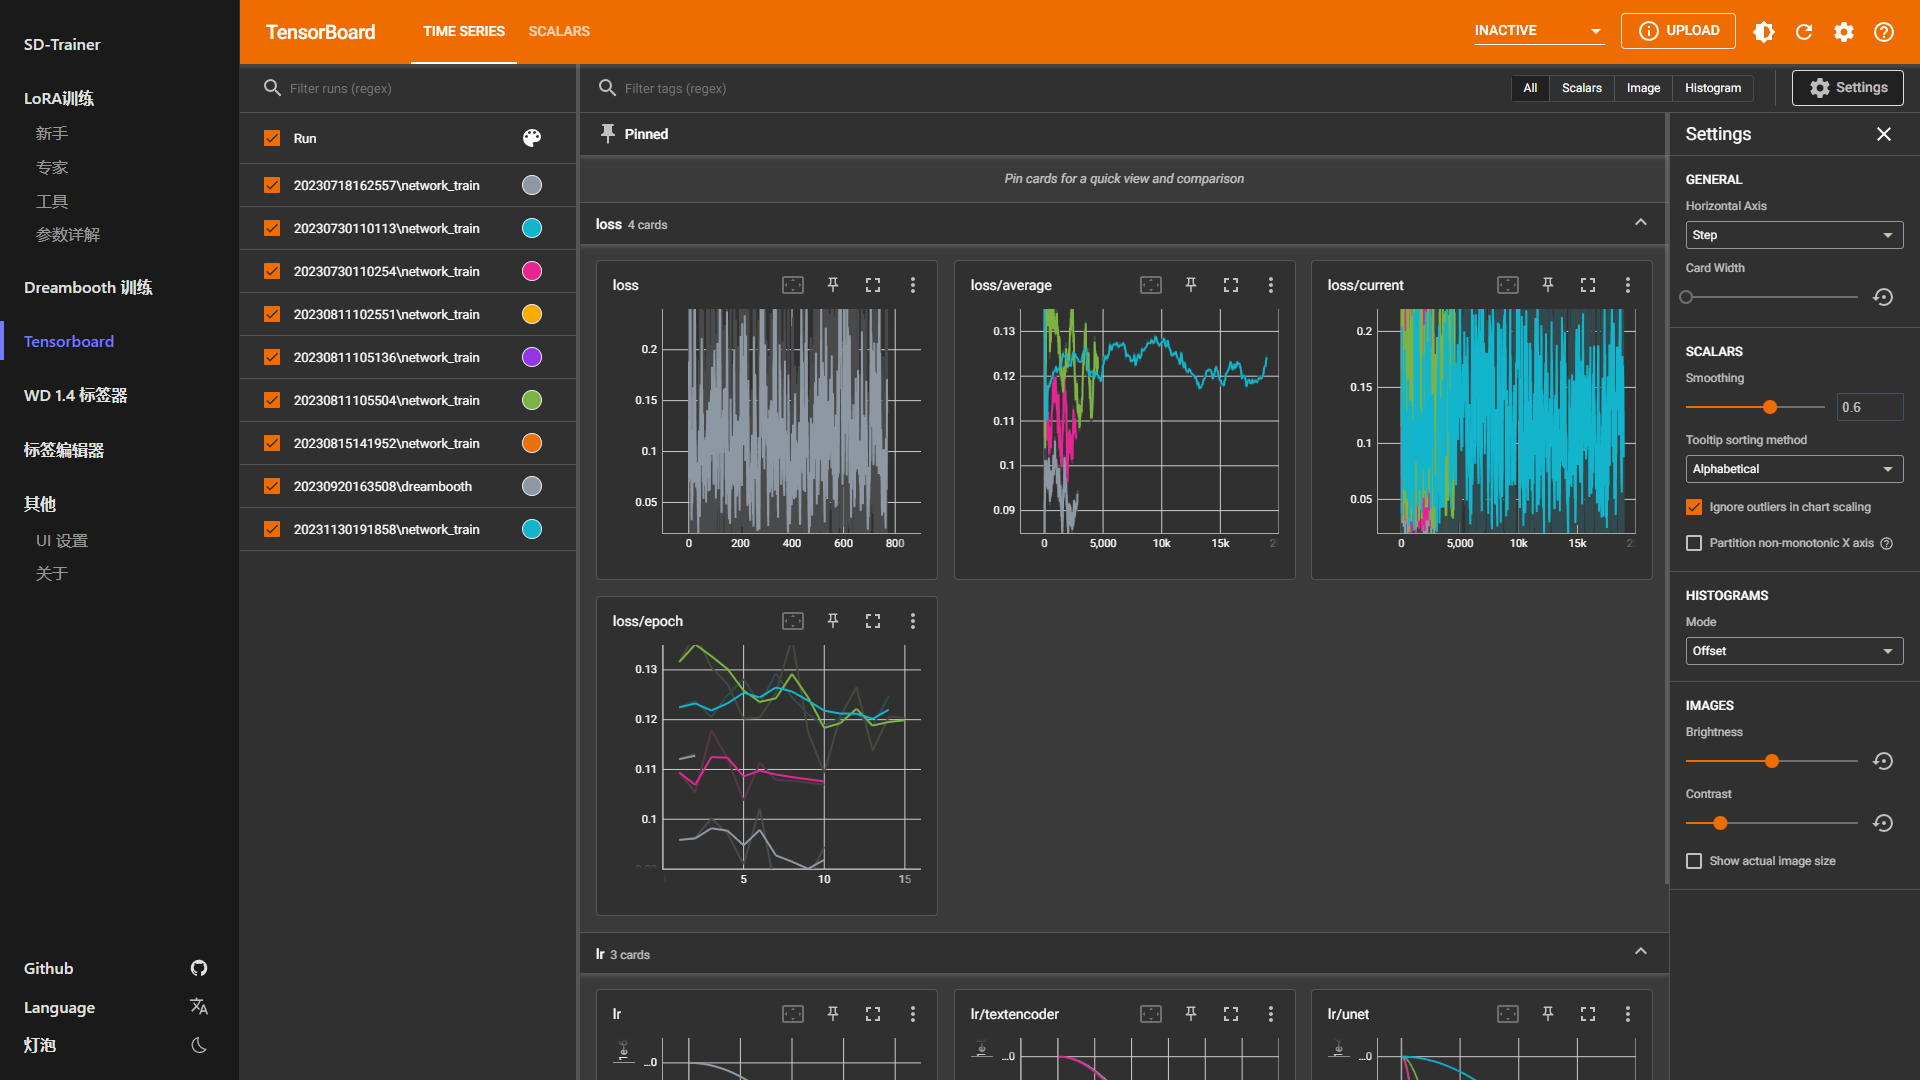 | 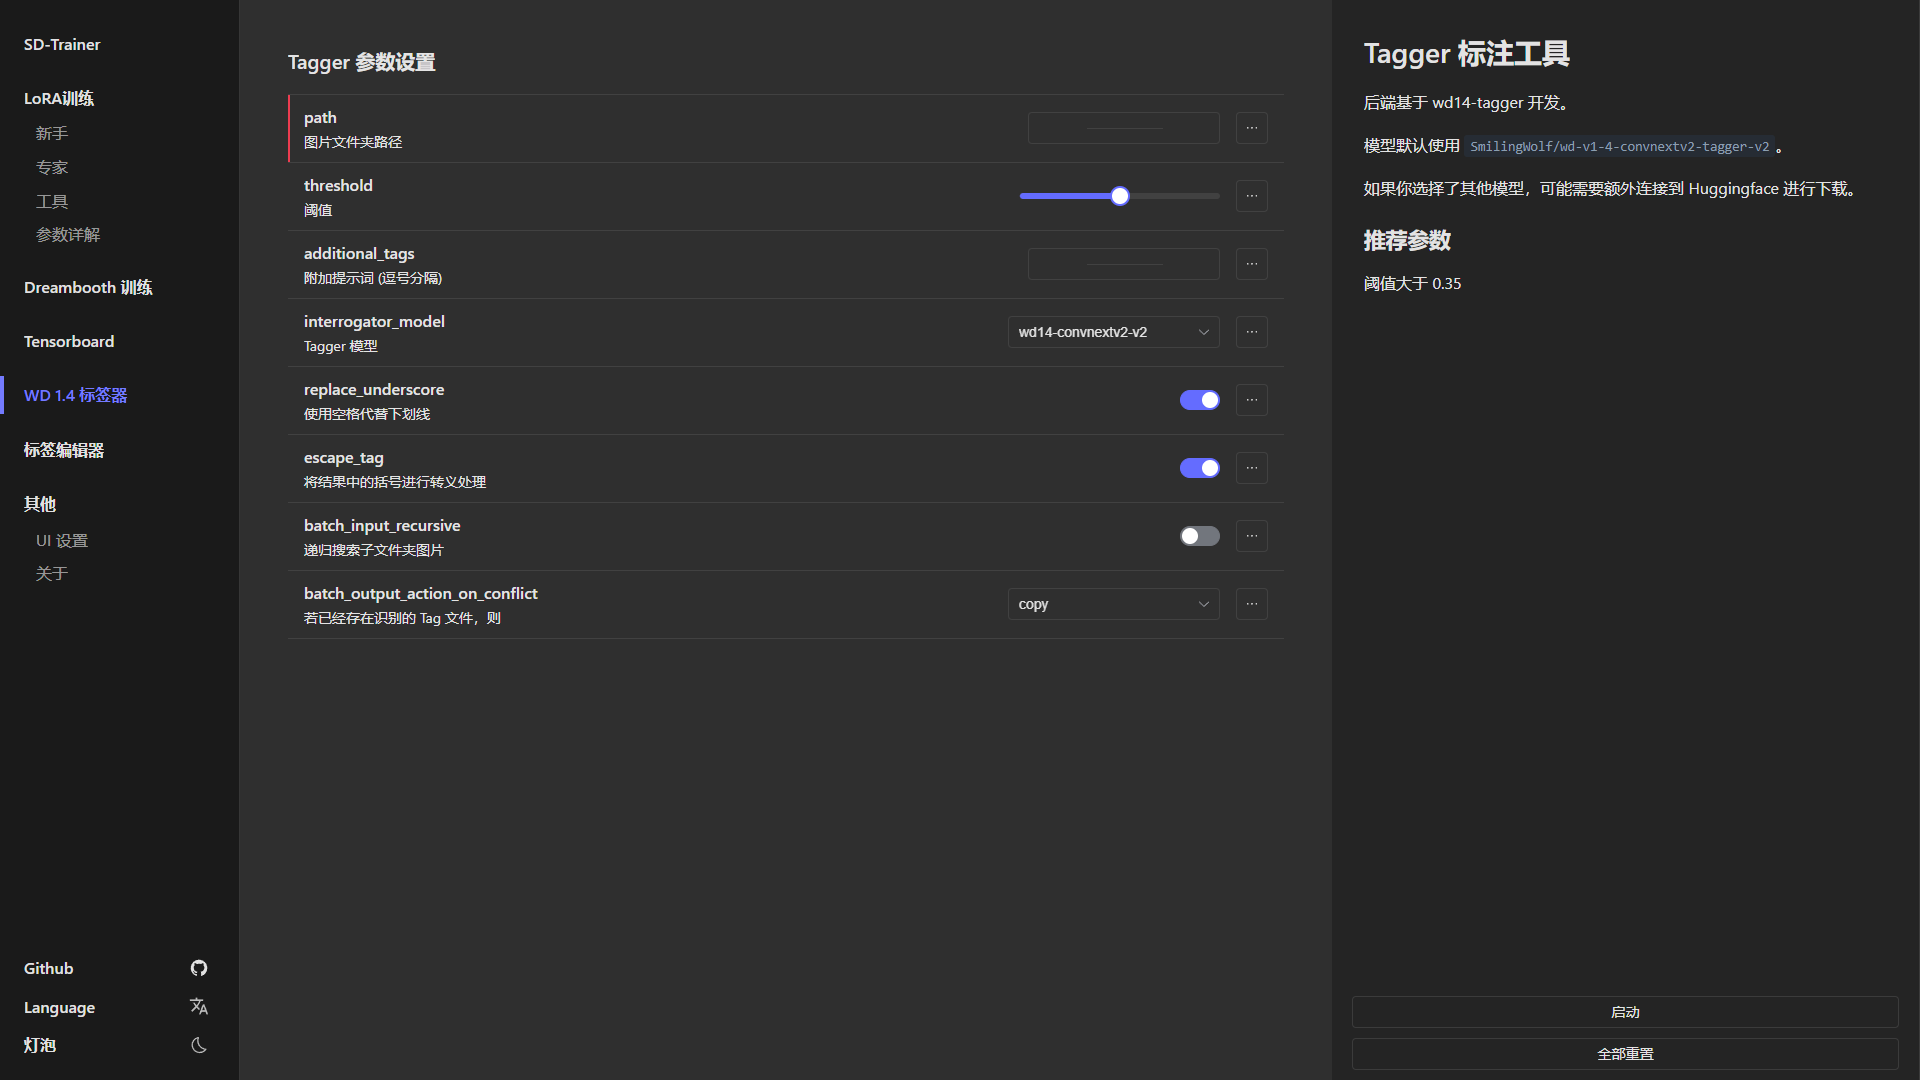 | 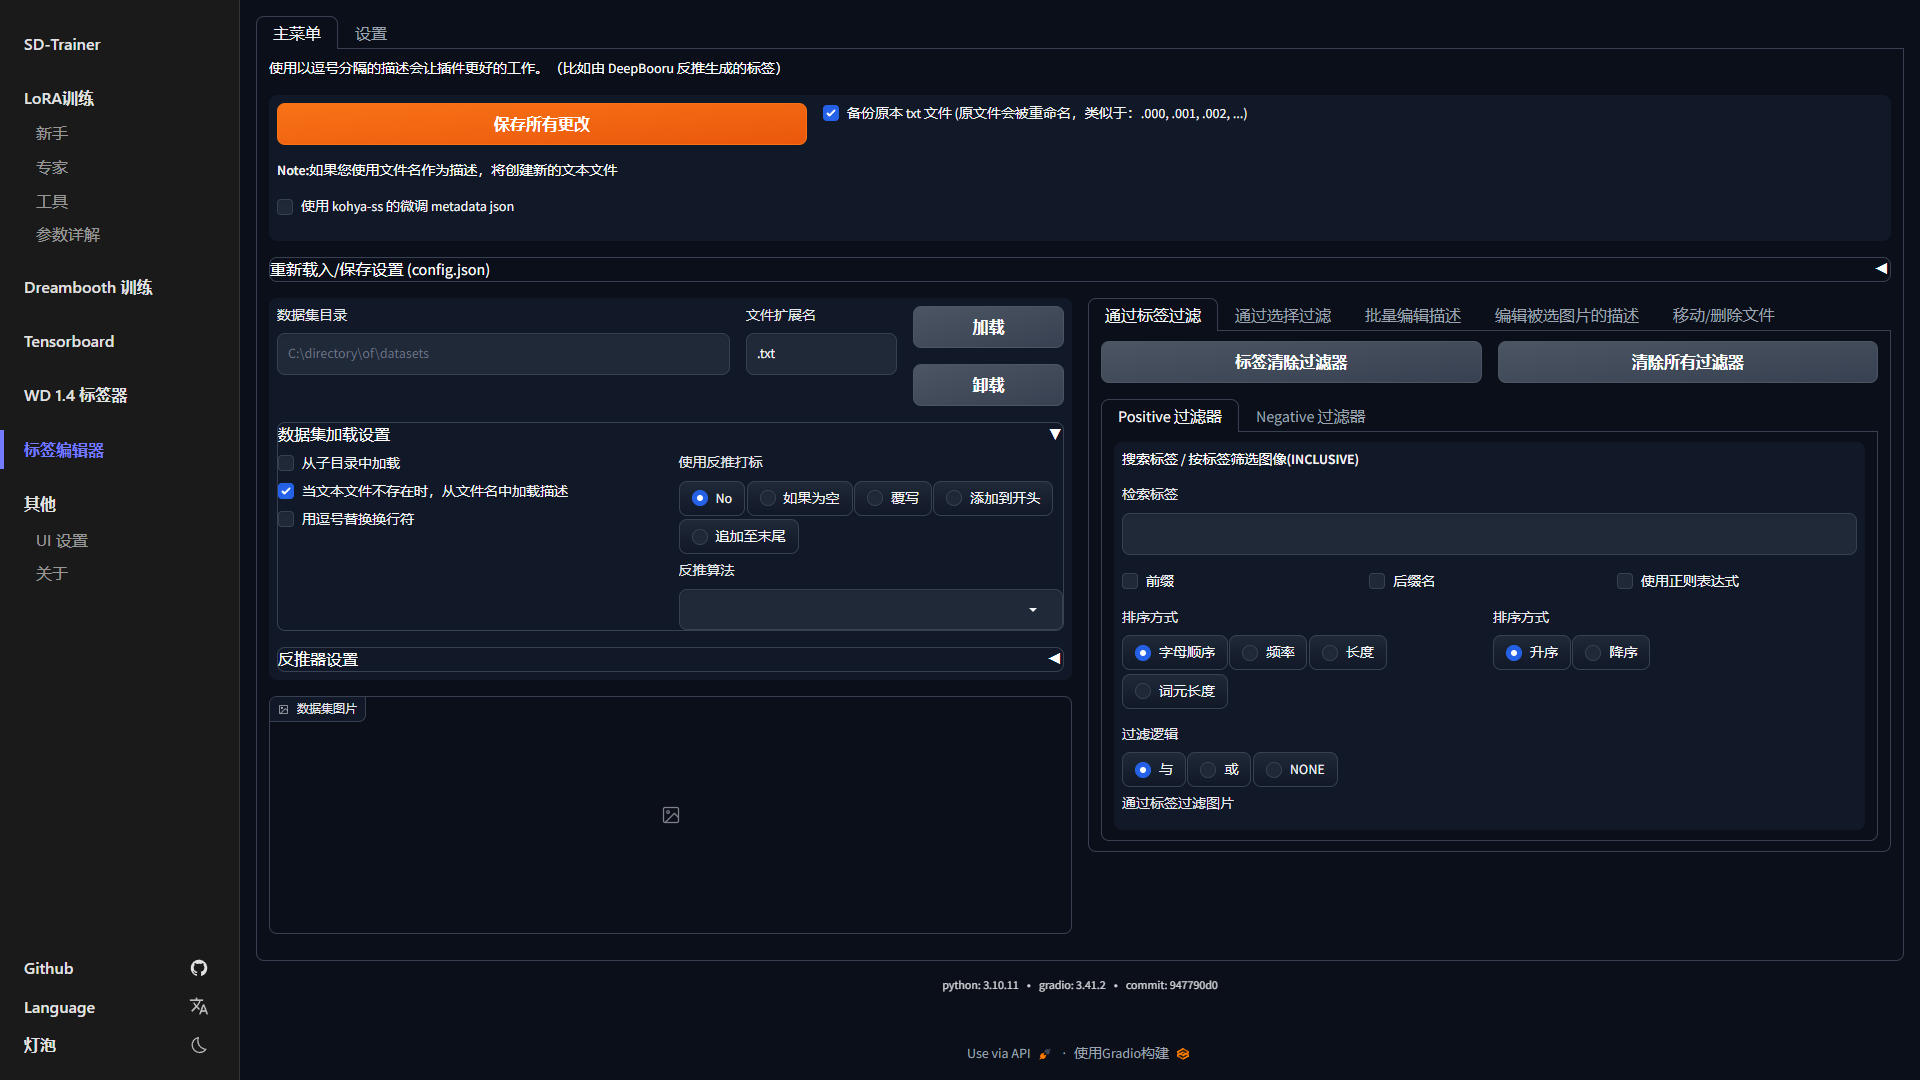 |
# 使用方法
### 必要依赖
Python 3.10 和 Git
### 克隆带子模块的仓库
```sh
git clone --recurse-submodules https://github.com/Akegarasu/lora-scripts
```
## ✨ SD-Trainer GUI
### Windows
#### 安装
运行 `install-cn.ps1` 将自动为您创建虚拟环境并安装必要的依赖。
#### 训练
运行 `run_gui.ps1`,程序将自动打开 [http://127.0.0.1:28000](http://127.0.0.1:28000)
### Linux
#### 安装
运行 `install.bash` 将创建虚拟环境并安装必要的依赖。
#### 训练
运行 `bash run_gui.bash`,程序将自动打开 [http://127.0.0.1:28000](http://127.0.0.1:28000)
## 通过手动运行脚本的传统训练方式
### Windows
#### 安装
运行 `install.ps1` 将自动为您创建虚拟环境并安装必要的依赖。
#### 训练
编辑 `train.ps1`,然后运行它。
### Linux
#### 安装
运行 `install.bash` 将创建虚拟环境并安装必要的依赖。
#### 训练
训练
脚本 `train.sh` **不会** 为您激活虚拟环境。您应该先激活虚拟环境。
```sh
source venv/bin/activate
```
编辑 `train.sh`,然后运行它。
#### TensorBoard
运行 `tensorboard.ps1` 将在 http://localhost:6006/ 启动 TensorBoard
## 程序参数
| 参数名称 | 类型 | 默认值 | 描述 |
|------------------------------|-------|--------------|-------------------------------------------------|
| `--host` | str | "127.0.0.1" | 服务器的主机名 |
| `--port` | int | 28000 | 运行服务器的端口 |
| `--listen` | bool | false | 启用服务器的监听模式 |
| `--skip-prepare-environment` | bool | false | 跳过环境准备步骤 |
| `--disable-tensorboard` | bool | false | 禁用 TensorBoard |
| `--disable-tageditor` | bool | false | 禁用标签编辑器 |
| `--tensorboard-host` | str | "127.0.0.1" | 运行 TensorBoard 的主机 |
| `--tensorboard-port` | int | 6006 | 运行 TensorBoard 的端口 |
| `--localization` | str | | 界面的本地化设置 |
| `--dev` | bool | false | 开发者模式,用于禁用某些检查 |